I have questioned myself and reflect on his life a lot. Did I give him enough attention? Did I teach him enough? Does he know how much I love him? Does he feel loved? Is he ready for the world? I know this all sounds silly because I know the answer to all these questions but I am a worrier and that is what we do.
So yesterday was not just a party, it was the start of another chapter. Another chapter not just for Tyler but for me as well.
OK, I am done being sappy. On to the fun stuff. Here are some fun photos of me and my boys and the fun decorations.
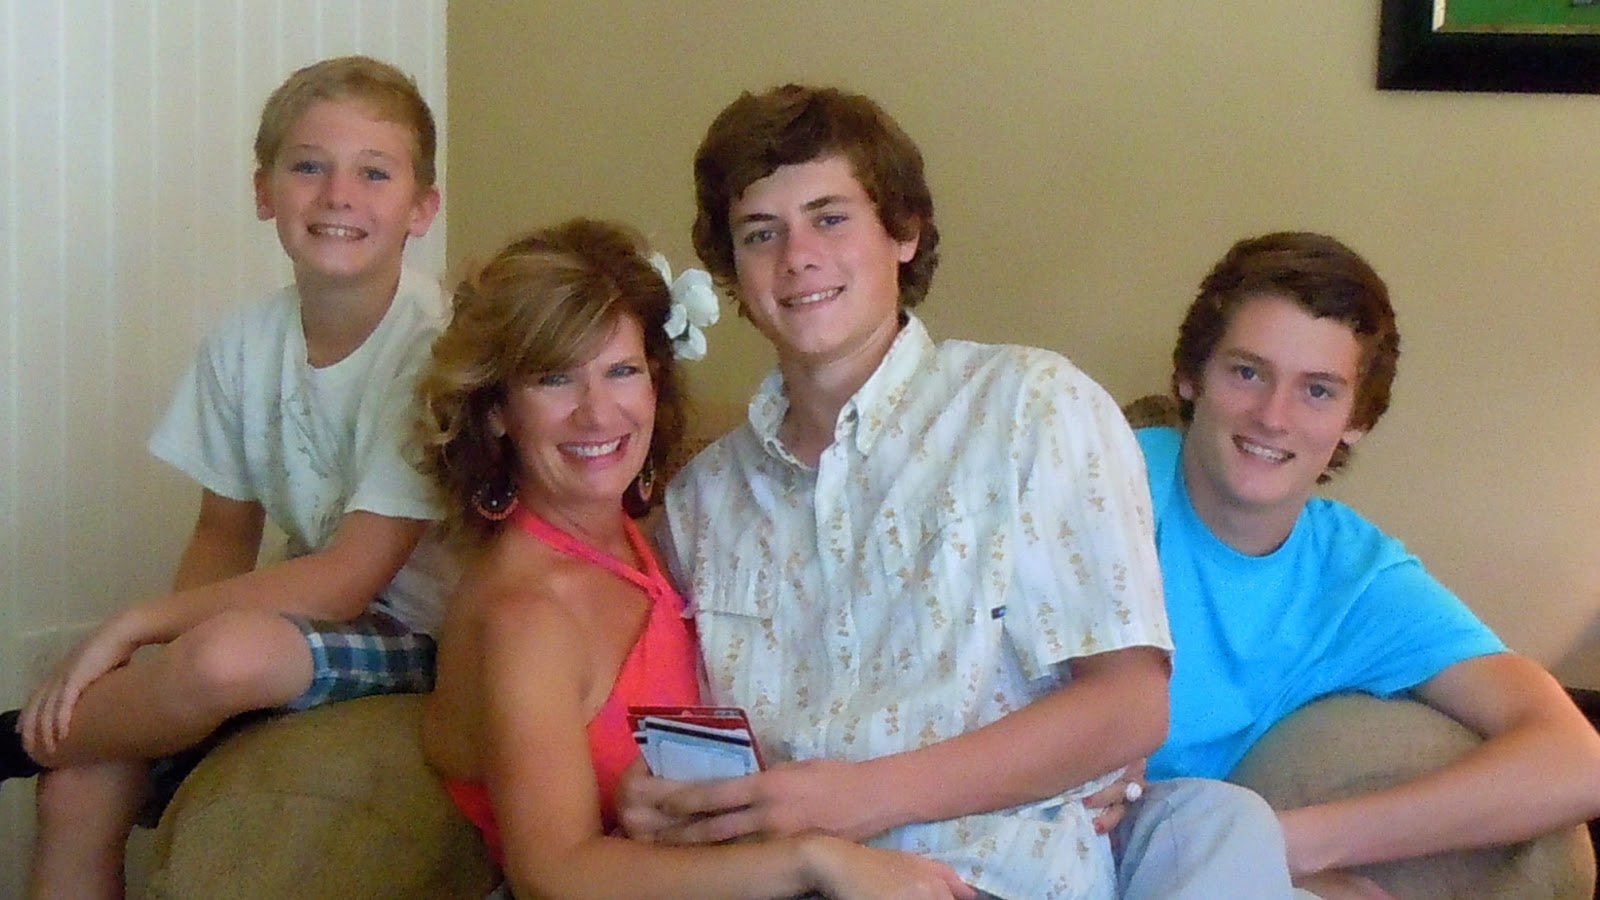
It is always a good day when I get to spend time with all my cherubs.

I think this just might be the best picture Ty and I have ever taken.


I added a cards banner to an old suitcase.

I used old windows for my bulletin boards.

For the centerpieces I planted succulents in old tool boxes, an old truck, a tackle box and chicken feeder. This added the masculine touch I needed.


It was a day for the memory books. I look forward to seeing all the future holds for this sweet, handsome, smart boy.