I have been seeing stripes everywhere, Magazines, TV, etc. I have been wanting to try it. After all, it is just paint. If I don't like it, no harm done. I tackled one wall. I think that is enough to change a room. This wall is 15 ft. long. I did a stripe every foot, or 12 inches. I have also seen them closer together.
Before. Ok, but a little boring.
I used a level with a laser to help me get the lines straight.
So pretty. I couldn't be happier. A $15 fix. It only took a pint of paint. I also made the stripe a higher sheen. The wall was eggshell and the stripe semi-gloss. Total project time was 3 hours.
Monday, February 20, 2012
Sunday, February 12, 2012
Homemade Valentines
My son, Dylan, shares my love of crafts. So when I suggested that we make our Valentines this year he was on board. A friend showed us how to make these lovely pendants. The best part is they can be made for any occasion. These also look great when connected for a banner. Here is how to get started.
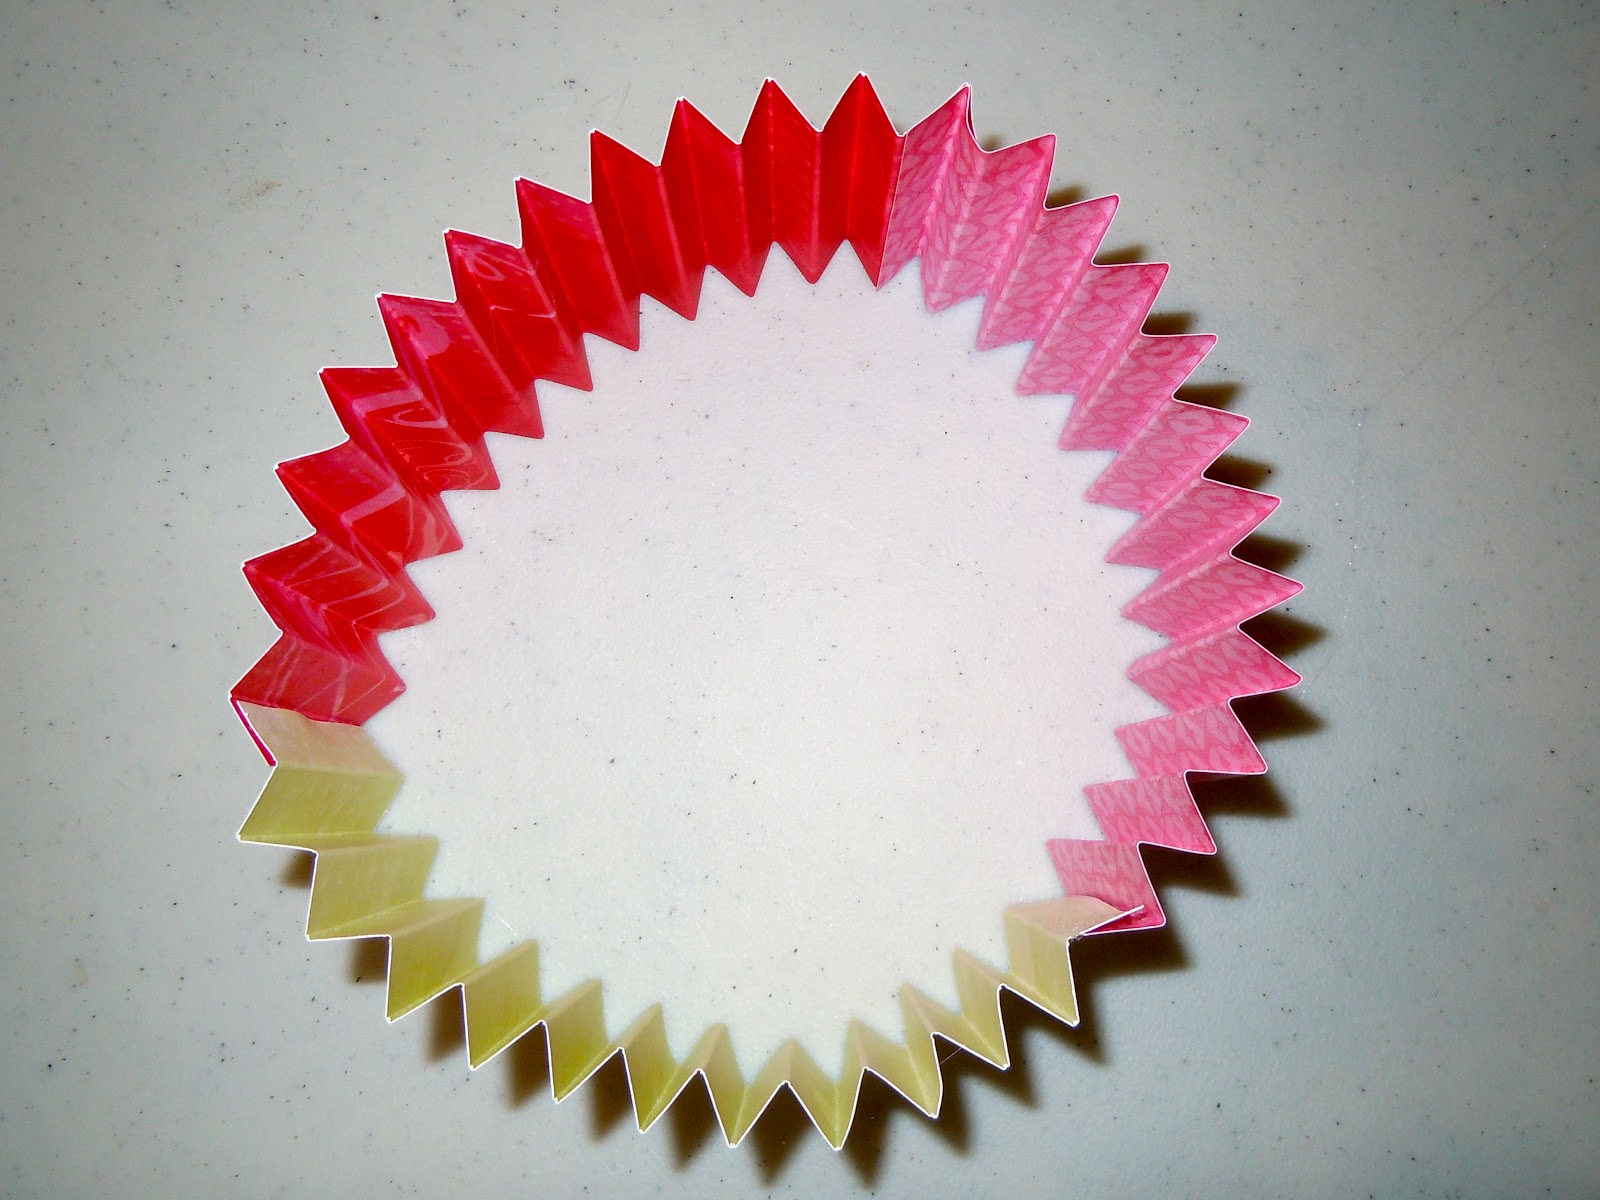
First, you will cut 3 inch strips off of a 12X12 inch piece of paper. You will then score it every half inch. We got this Martha Stewart tool at Michaels. Of course, wait for that coupon. You will then fold the paper back and forth according to the score marks.
You will then glue three strips together, forming a circle.
This is probably the hardest part. You have to push it down and hold it together while glueing a circle to the middle to secure it.
You then add ribbon to a stick.
Add the stick to the pendant, add embellishments (stickers, ribbon, cutouts), and you have a beautiful gift or decoration.
I am so proud of Dylan for understanding that it is a good thing to make things, for enjoying the process, and for being proud of his work. I hope the 30 kids in his class also appreciate his effort and enjoy his gift. I hope all of you have a great Valentines Day.
First, you will cut 3 inch strips off of a 12X12 inch piece of paper. You will then score it every half inch. We got this Martha Stewart tool at Michaels. Of course, wait for that coupon. You will then fold the paper back and forth according to the score marks.
You will then glue three strips together, forming a circle.
This is probably the hardest part. You have to push it down and hold it together while glueing a circle to the middle to secure it.
You then add ribbon to a stick.
Add the stick to the pendant, add embellishments (stickers, ribbon, cutouts), and you have a beautiful gift or decoration.
I am so proud of Dylan for understanding that it is a good thing to make things, for enjoying the process, and for being proud of his work. I hope the 30 kids in his class also appreciate his effort and enjoy his gift. I hope all of you have a great Valentines Day.
Monday, February 6, 2012
Button Love
I have been feeling very creative this Valentine season. Pinterest has fueled this creativity. I came upon something similar to this, but of course I put my own spin on it. I had an old frame I didn't like so much. I tore stripes of linen and wrapped them around the frame. I then covered the frame back in linen, Then, I started playing with buttons. The options are endless. I hope this gives you some fun ideas.
I added an extra piece of linen for the hanger, but you could also just use the back of the frame for hanging. Enjoy.
Sunday, January 22, 2012
Burlap Heart II
I have taken into consideration suggestions from friends and family who like things a little more colorful than I. I have come up with colorful alternates for the burlap wreath for those who need a little splash of color. I hope you like the results. I may even like it a little better myself.
An additional change that I made to the first wreath, is I wrapped the form in linen. This created a finished look on the back side of the wreath. Happy crafting.
Wednesday, January 18, 2012
Burlap Valentine
Those who know me well, know I have an slight aversion to red. When I saw this burlap heart wreath on Pinterest I was so excited. I googled how to make burlap roses. It is surprisingly easy. My nine year old made half the roses on this wreath. The back of the wreath is just a heart form cut from cardboard. I glued the ribbon at the top under the center rose. I hope this inspires you to get crafty. If crafty isn't your thing, I will be selling these wreaths at etsy.com. My store is, of course, thewhitebarn11 - The White Barn.
Monday, January 16, 2012
Winter Arrangement
I know it may sound a bit extreme, but I often carry pruning shears in the back of my car. Long gone are the days of spending a lot of my weekly budget on store bought flowers. I have been having more fun cutting flowers from my own garden or ones I may see while taxing my three boys all over town. This tree happens to be on my families property, so no laws were broken in the making of this post. However, I am not above knocking on someones door to ask permission for a couple clippings. They are usually flattered by the request. Hope this gives you a new idea for your Winter arrangements.
Sunday, January 15, 2012
I put my big girl panties on.
I have been talking about having a booth at the Sacramento Antiques Faire for over 2 years. I am not sure why I was so scared, but fear of the unknown seems to be, at times, paralyzing. With encouragement from those who love me, I finally did it. It was so great. Other vendors were very kind and helpful. I sold most of what I took. I now need to busy myself collecting and making treasures for the next show. I guess the lesson I learned - don't wait so long to try new things, especially things that you really want to do.
Subscribe to:
Posts (Atom)