When you have a huge entrance to a wedding or reception it is sometimes overwhelming and costly to decorate. I wanted to pair down the focal point to the entrance while keeping with the theme of the wedding. I was happy with what I came up with and it didn't cost me anything but the flowers. Take a look.
I, or should I say my better half, hinged the three doors together to create a screen. I hung a chalk board off one of them and then just added plants. I realize not everyone has old doors lying around, but keep your eyes open and you can pick them up pretty cheap. The saying on the chalkboard came from Pinterest. I hope this gives you some good ideas.
Saturday, April 28, 2012
Saturday, April 21, 2012
Praire Chic Wedding
Yesterday I decorated for a Wedding. It has been a work in progress over the past couple months. Although a wedding can be labor intensive, the end result is so worth it. Here are just a couple of my projects. There will be more posts and pictures to come.
This is one of the centerpieces. The smokey purple bottles were from Michael's. I purchased the little frames from the scrap booking department from Michael's, added a monogram, and attached the frame to the bottle with a ribbon. I then tied the two bottles together with burlap. The main flowers I used were Spray Roses and Ranuculus.
I alternated each table with this arrangement. I covered a mason jar in burlap, added crocheted lace, and again attached a monogrammed frame with ribbon. I think they turned out great and most importantly the bride was very happy.
This is one of the centerpieces. The smokey purple bottles were from Michael's. I purchased the little frames from the scrap booking department from Michael's, added a monogram, and attached the frame to the bottle with a ribbon. I then tied the two bottles together with burlap. The main flowers I used were Spray Roses and Ranuculus.
I alternated each table with this arrangement. I covered a mason jar in burlap, added crocheted lace, and again attached a monogrammed frame with ribbon. I think they turned out great and most importantly the bride was very happy.
Saturday, March 24, 2012
Saturday, March 17, 2012
Wrist Corsage
The fabulous thing about Etsy and Pinterest is that it sparks all sorts of creativity. My son is attending Jr. Prom next Saturday so I thought it would be fun to make his dates wrist corsage and his boutonniere. I have seen several examples of these on Etsy and Pinterest, so I thought I would give it a try.
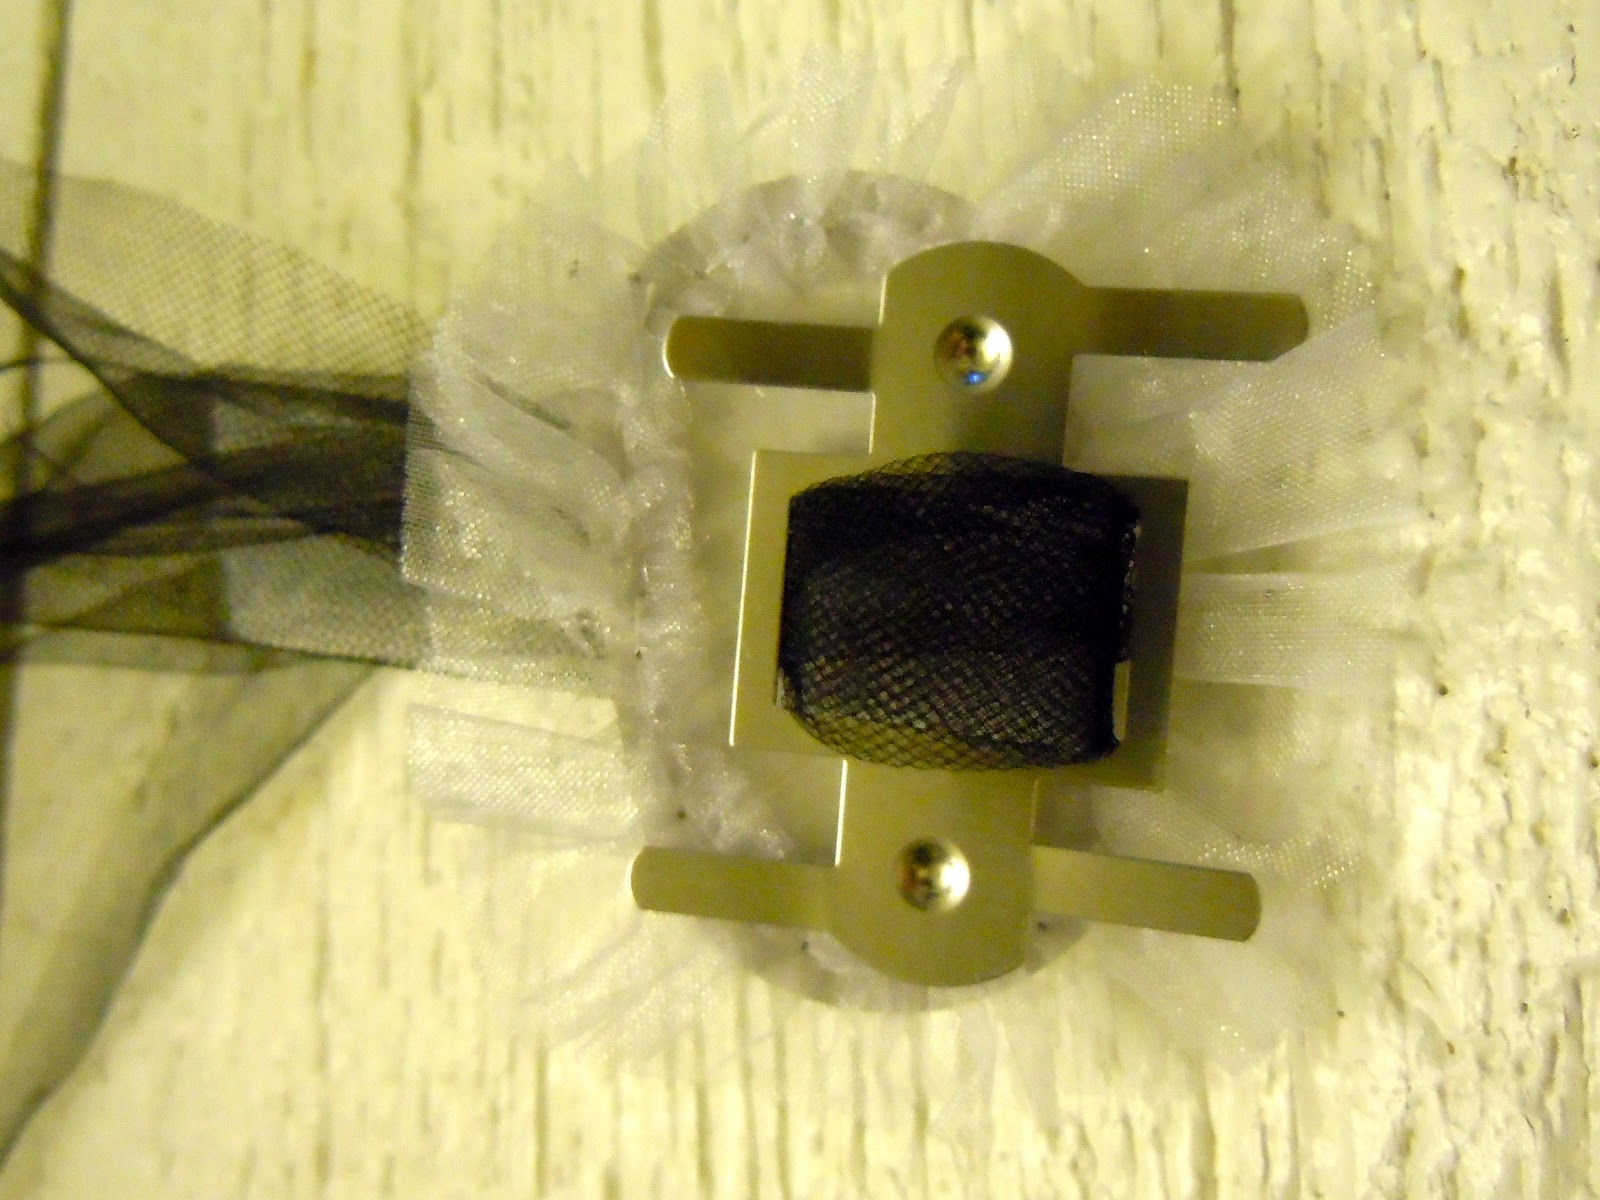
I started with a premade wrist corsage kit from the wedding department at Michaels. The only option is white. My sons date is wearing a Midnight Blue dress, so I needed to make some adjustments.
I added black tulle through the center which will create a black tie to attach to her wrist. I also trimmed off a lot of the white tulle so that you won't be able to see it.
I then added black tulle to create my base.
Then, you just start layering. Just glue as you go.
They have a lot of different embellishments to choose from at Michaels.
I then added this rose that I made from velvet ribbon. I googled a tutorial to learn how to make burlap roses and just applied the same method to the ribbon. I am happy with the results. I think this will look beautiful with her dress. I will post prom pictures next week.
I started with a premade wrist corsage kit from the wedding department at Michaels. The only option is white. My sons date is wearing a Midnight Blue dress, so I needed to make some adjustments.
I added black tulle through the center which will create a black tie to attach to her wrist. I also trimmed off a lot of the white tulle so that you won't be able to see it.
I then added black tulle to create my base.
Then, you just start layering. Just glue as you go.
They have a lot of different embellishments to choose from at Michaels.
I then added this rose that I made from velvet ribbon. I googled a tutorial to learn how to make burlap roses and just applied the same method to the ribbon. I am happy with the results. I think this will look beautiful with her dress. I will post prom pictures next week.
Monday, February 20, 2012
Stripe Envy
I have been seeing stripes everywhere, Magazines, TV, etc. I have been wanting to try it. After all, it is just paint. If I don't like it, no harm done. I tackled one wall. I think that is enough to change a room. This wall is 15 ft. long. I did a stripe every foot, or 12 inches. I have also seen them closer together.
Before. Ok, but a little boring.
I used a level with a laser to help me get the lines straight.
So pretty. I couldn't be happier. A $15 fix. It only took a pint of paint. I also made the stripe a higher sheen. The wall was eggshell and the stripe semi-gloss. Total project time was 3 hours.
Before. Ok, but a little boring.
I used a level with a laser to help me get the lines straight.
So pretty. I couldn't be happier. A $15 fix. It only took a pint of paint. I also made the stripe a higher sheen. The wall was eggshell and the stripe semi-gloss. Total project time was 3 hours.
Sunday, February 12, 2012
Homemade Valentines
My son, Dylan, shares my love of crafts. So when I suggested that we make our Valentines this year he was on board. A friend showed us how to make these lovely pendants. The best part is they can be made for any occasion. These also look great when connected for a banner. Here is how to get started.
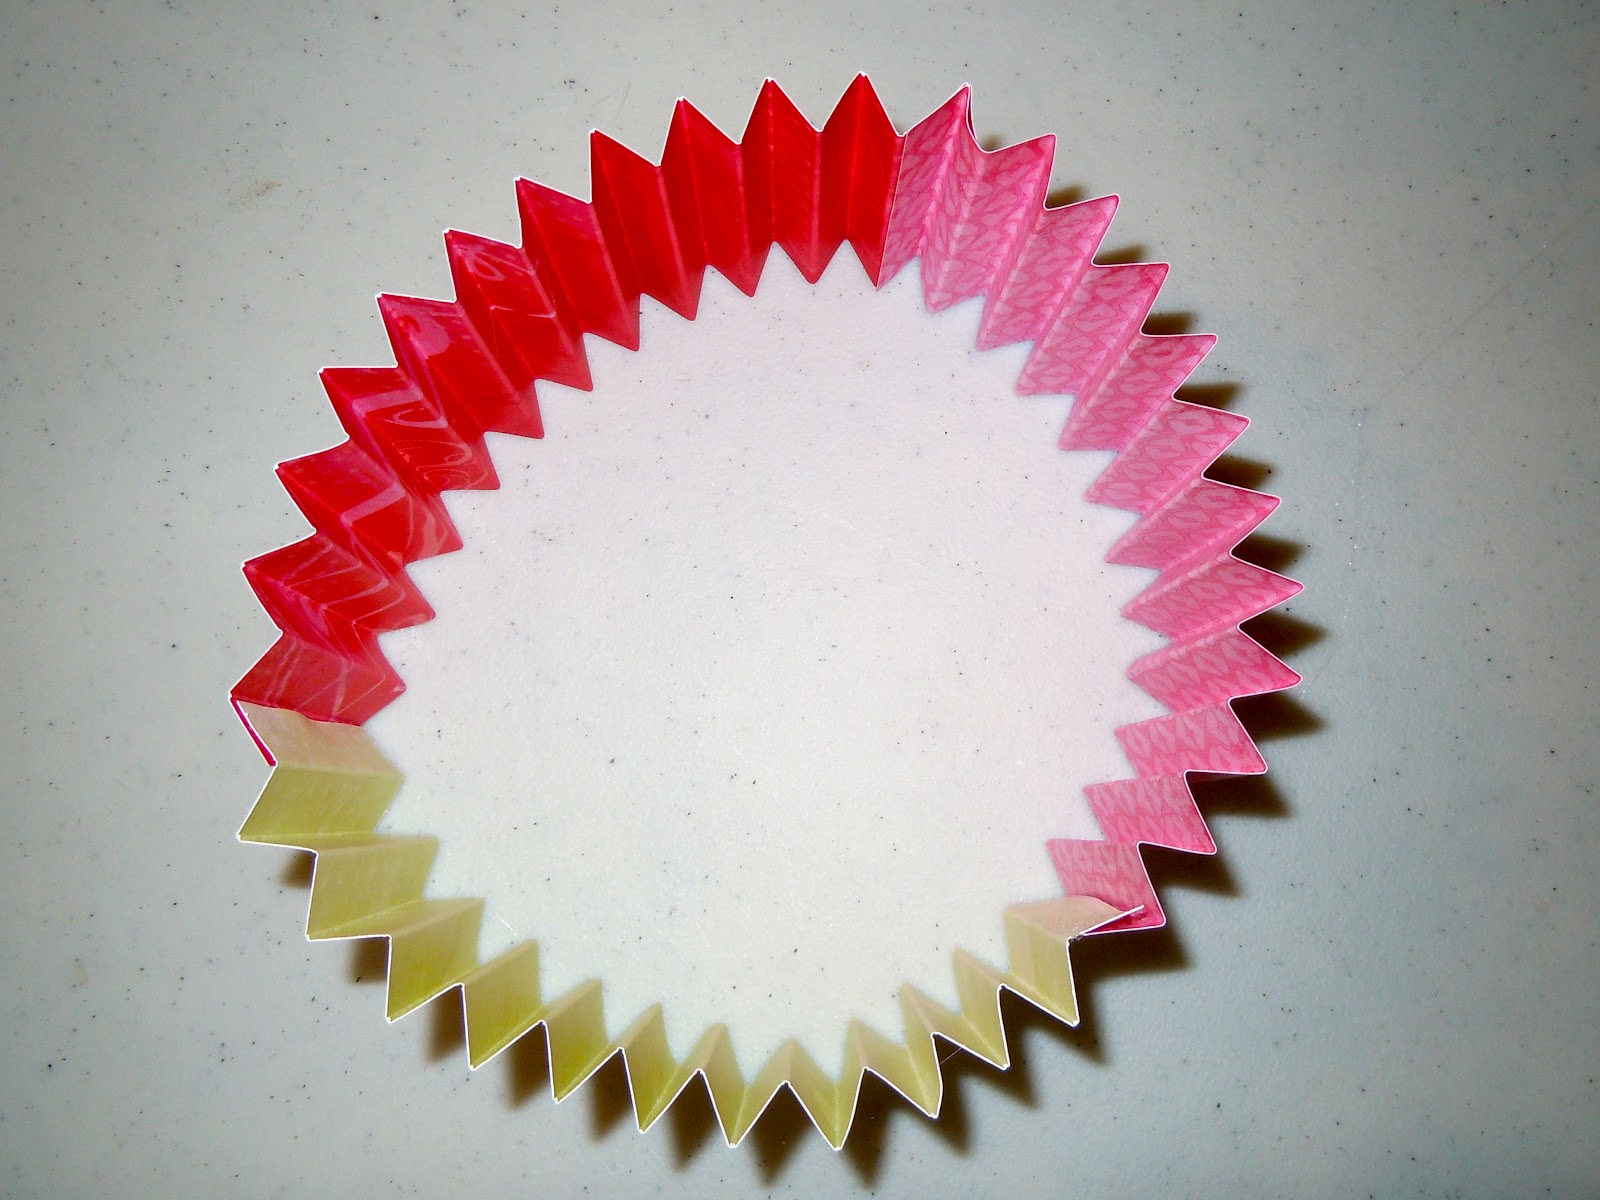
First, you will cut 3 inch strips off of a 12X12 inch piece of paper. You will then score it every half inch. We got this Martha Stewart tool at Michaels. Of course, wait for that coupon. You will then fold the paper back and forth according to the score marks.
You will then glue three strips together, forming a circle.
This is probably the hardest part. You have to push it down and hold it together while glueing a circle to the middle to secure it.
You then add ribbon to a stick.
Add the stick to the pendant, add embellishments (stickers, ribbon, cutouts), and you have a beautiful gift or decoration.
I am so proud of Dylan for understanding that it is a good thing to make things, for enjoying the process, and for being proud of his work. I hope the 30 kids in his class also appreciate his effort and enjoy his gift. I hope all of you have a great Valentines Day.
First, you will cut 3 inch strips off of a 12X12 inch piece of paper. You will then score it every half inch. We got this Martha Stewart tool at Michaels. Of course, wait for that coupon. You will then fold the paper back and forth according to the score marks.
You will then glue three strips together, forming a circle.
This is probably the hardest part. You have to push it down and hold it together while glueing a circle to the middle to secure it.
You then add ribbon to a stick.
Add the stick to the pendant, add embellishments (stickers, ribbon, cutouts), and you have a beautiful gift or decoration.
I am so proud of Dylan for understanding that it is a good thing to make things, for enjoying the process, and for being proud of his work. I hope the 30 kids in his class also appreciate his effort and enjoy his gift. I hope all of you have a great Valentines Day.
Monday, February 6, 2012
Button Love
I have been feeling very creative this Valentine season. Pinterest has fueled this creativity. I came upon something similar to this, but of course I put my own spin on it. I had an old frame I didn't like so much. I tore stripes of linen and wrapped them around the frame. I then covered the frame back in linen, Then, I started playing with buttons. The options are endless. I hope this gives you some fun ideas.
I added an extra piece of linen for the hanger, but you could also just use the back of the frame for hanging. Enjoy.
Subscribe to:
Posts (Atom)